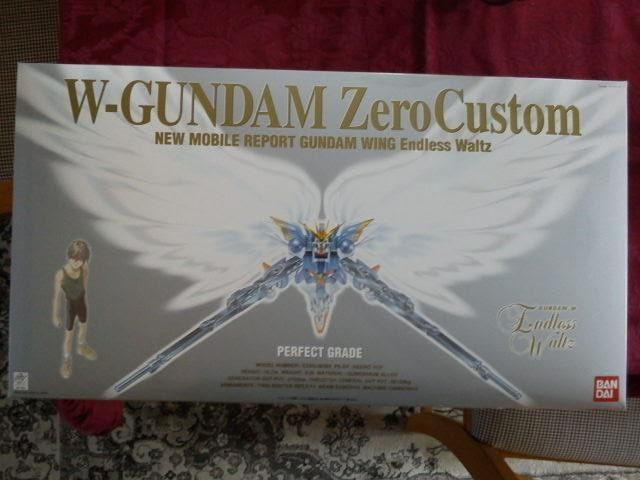
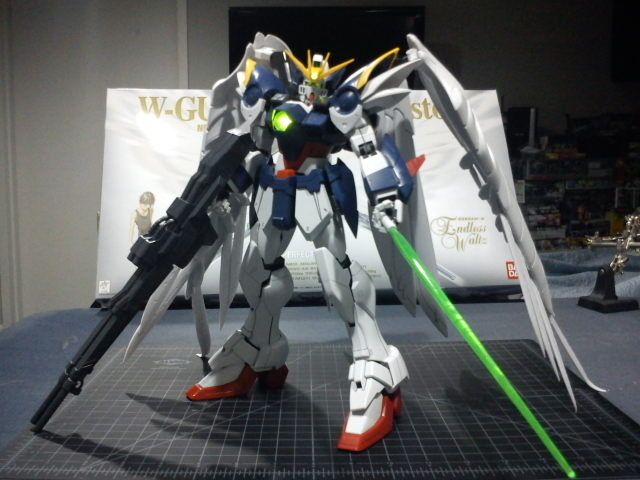
I've wanted one of these since I first found out about their release back in big ol' 2000. Let me just say, I'm glad my friend wanted it more than I did. It's not a bad model, don't take this negativity too seriously. Generally my complaints come from loose joints, but there are inexpensive tricks to tweaking such issues. A good friend of mine, Zero (yes, seriously), is a fan of Gundam franchise, Wing Zero and its variants being some of his favorites. Compared to myself he doesn't make models with much the same care and is new to the hobby, so when he made up his mind to purchase this $200 beast he opted it best to ask me to construct it for him. Having wanted one myself for the past fourteen years I accepted, and it was a lot of fun to put together.
 |
| Everything. Took nearly a week to assemble. |
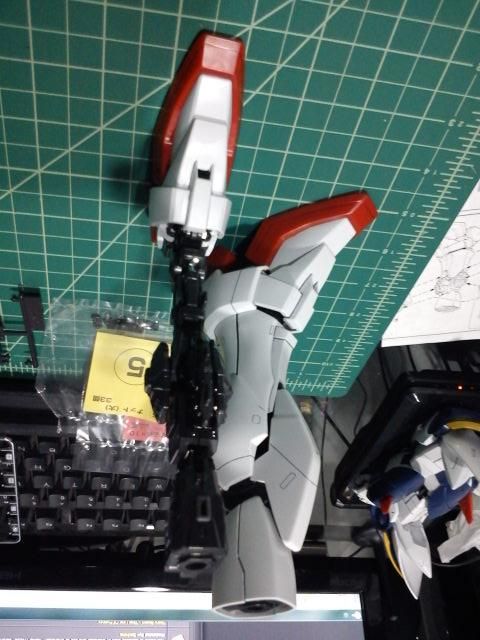
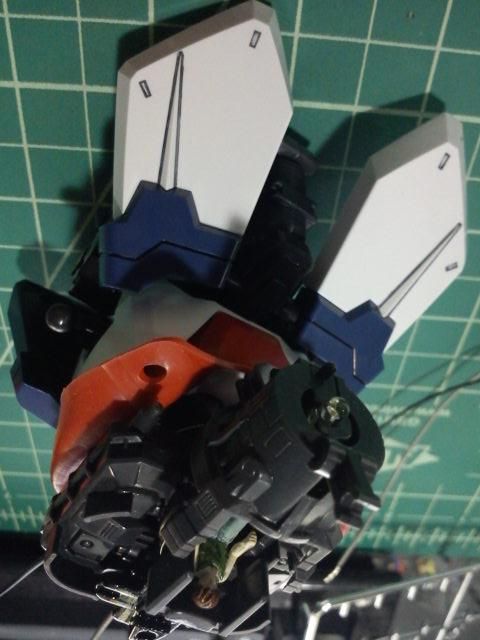
There are also a number of heavy, metal pieces that are used in the lower body assembly which did a great job of helping to ground the model, though unfortunately the wings weigh a bit more in the end.
For those who have never built a perfect Grade, they are generally larger Master Grades without stickers (instead there are parts they bother to color correctly). That said they follow the same rules: build the frame, then add the armor.
 |
| A finished leg, and bare frame. |
Almost the entire frame of the waist assembly is metal, minus the hip socket covers and the external armor. For the most part, any screws that could potentially need adjusting have some route of easy access. The covers around the hip sockets have small doors that open to allow you to loosen the joint and reposition the leg as needed. There is also a screw to tighten the axle up, though it is troublesome to get to while the hip casing is on. The armor around the ankles can come off fairly easily, should you need to adjust the grip on the feet, although I suggest making sure the rest of the screws in the legs are tightened just right, as the rest of the armor plating may break if you are not careful.
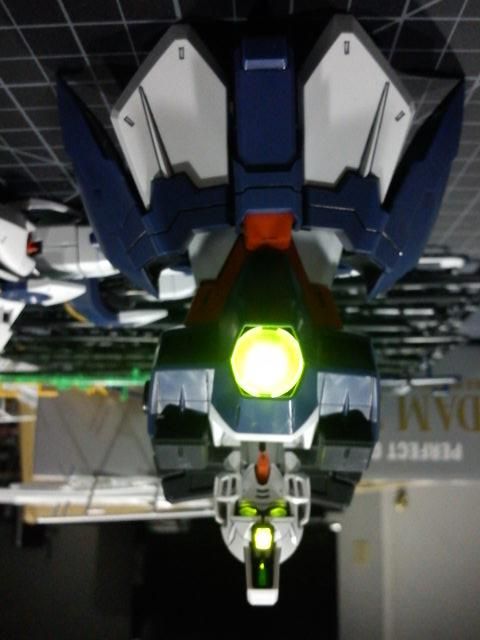
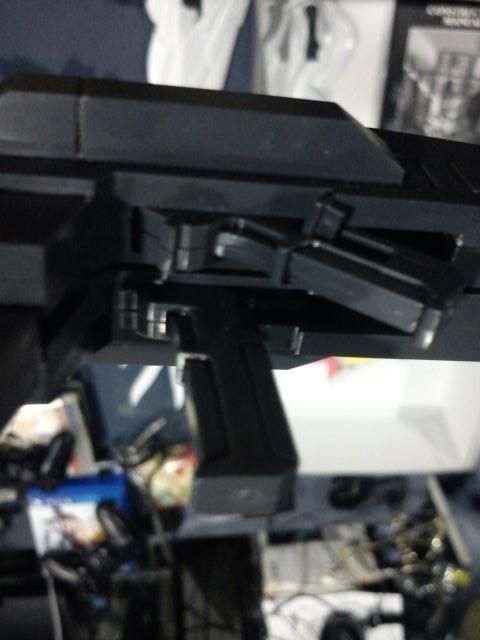
If you've yet to look up anything else on this model, know that the wiring is likely to be your biggest headache. I ended up having to solder everything in place since the method the instructions gave didn't work at all for me. Unfortunately this kit's wiring is not prepared beforehand with the necessary plates and connections (no batteries either, so get a pair of LR43 type to test your connections). Instead you must cut and strip the wires yourself, which is easy with the right tools. The annoying part comes from having to screw the exposed wire against the LED's connection and have it stay in place. Personally, the screws in the head would not grip onto anything and the wires would just fall out of place. The screws in the chest would grip, however the wires refused to stay in place. If you do manage to get all the wiring fastened as intended, more power to ya. If you can't and do end up soldering the connections, this goes without saying but, be careful not to melt any of the nearby plastic.
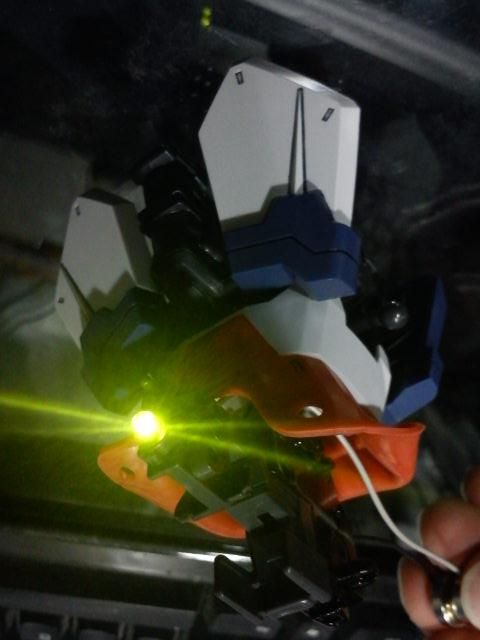
The same issues exist when wiring the switch and setting the plates for the batteries in the backpack. While I didn't have to solder anything this time, getting everything to fit snugly was wearing on my remaining patience. The biggest issue was getting the battery plates to stay in place for the connection to carry, as they would see-saw back and forth depending on which battery I inserted. Your best bet will be to sit everything in place, and then screw the backpack to the torso, evenly pushing both batteries into place. While you're doing this though, have fun jamming the wires back into the torso and hoping they don't pop off the screws or switch.
PROs
- Looks great, the detail is all there
- Heavy lower body; Wings can still affect the balance, but the rubber feathers can be used to support it
- Does not require a stand (though recommended for those more memorable poses)
- Armor easily removable in places where adjusting screws are often used (arms, legs)
- Wing joints loose, can be tightened by filling socket with paper (personal solution, index card paper works best. There are other tricks that may work better for you)
- V-fin loose-fitting
- Waist design leaves hips loose, making standing a chore
- Armor on upper arms falls off extremely easily (though this is to get at the screws to tighten the joints, just keep in mind these will fall off almost every time you try to move the arms)
No comments:
Post a Comment